Unlock the Secrets: Your Comprehensive Guide to the RE9 Monitor Control Room Safe Code & Location
In the chilling, desolate corridors of the ARK facility in Resident Evil Requiem (RE9), every resource is a lifeline, and every hidden secret holds the potential for survival. Among the most sought-after puzzles is the RE9 Monitor Control Room Safe, a final enigma promising valuable supplies for those brave enough to crack its code. This comprehensive guide will navigate you through its exact location, reveal the elusive safe code for all difficulty settings, detail the crucial rewards it offers, and even show you where to uncover the code organically within the game world. Prepare to conquer one of RE9's last great challenges and secure your advantage against the horrors that lurk.
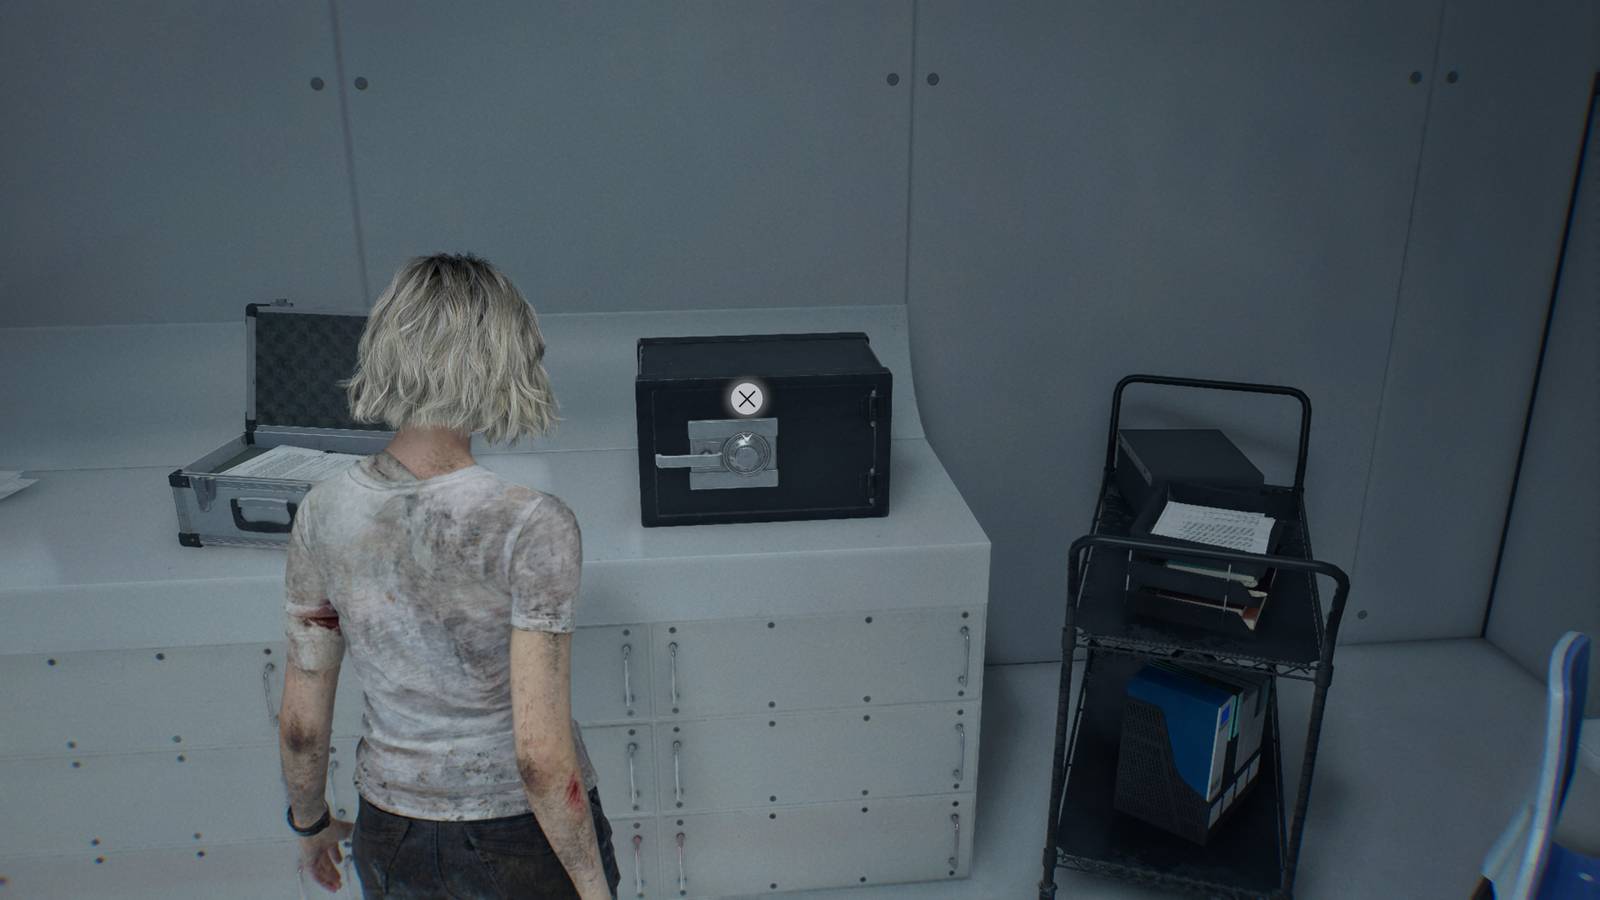
Monitor Control Room Safe Location: Pinpointing Your Endgame Prize
The ARK facility, a desolate remnant echoing Raccoon City's tragic past, serves as a significant endgame area in Resident Evil Requiem. Deep within its industrial confines lies the Monitor Control Room, home to the safe you're seeking. To locate this crucial stronghold, you'll need to progress through the game until you've unlocked the Lab Entrance door. From there, your path is relatively straightforward:
- First, enter the Lobby area.
- Once in the Lobby, look for the adjacent door that leads directly into the Monitor Control Room. This room is situated on the B2 Level of the ARK facility, a key detail to remember when consulting your map.
This safe often represents one of the final caches of items players can discover, making its contents particularly impactful as you face the game's ultimate threats. Knowing its precise whereabouts saves precious time and allows you to plan your route efficiently, especially if you're attempting a speedrun or trying to conserve resources for what lies ahead.
Cracking the Monitor Control Room Safe: Codes for All Difficulties
Whether you're a seasoned survival horror veteran or a newcomer to the terrors of RE9, understanding the correct safe code is paramount. Thankfully, you don't need to endure endless backtracking or waste valuable ammo to uncover it. Here are the precise combinations for the RE9 Monitor Control Room Safe across different difficulty settings:
Casual / Normal Difficulty Safe Code
For players tackling Resident Evil Requiem on casual or normal settings, the combination is as follows:
- Turn the dial Left to 50
- Turn the dial Right to 60
- Turn the dial Left to 80
Remember, when inputting safe codes in Resident Evil games, precision is key. You'll spin the dial clockwise until you hit the first number, then counter-clockwise for the second, and so on. Do not attempt to pull the safe handle until all three turns have been correctly input, or the sequence will reset, forcing you to start again. For a detailed breakdown of this and other codes, you might find our guide on Resident Evil Requiem: Monitor Control Room Safe Code for All Difficulties incredibly useful.
Insanity Difficulty Safe Code
For those who relish the ultimate challenge and are braving Insanity mode, the safe code is different, reflecting the game's commitment to increased difficulty and resource scarcity:
- Turn the dial Right to 20
- Turn the dial Left to 0
- Turn the dial Right to 70
The change in code for Insanity difficulty is a subtle yet significant detail, emphasizing the need for players to pay close attention to environmental clues or consult reliable guides like this one. Each resource saved by knowing the code directly translates to a better chance of survival in this punishing mode.
The In-Game Document: Where to Find the Code Yourself
While having the code at your fingertips is convenient, some players prefer the immersive experience of discovering the safe combination themselves. The developers of RE9 were kind enough to include a note left by ARK staff, providing the code within the game world. However, retrieving it isn't without its risks.
To find the document containing the RE9 Monitor Control Room Safe code:
- You must venture into the Bioweapon Repository 05. This area is located just down the stairs from the Lobby access point, not far from the Monitor Control Room itself.
- Be prepared for a fight. Bioweapon Repository 05 is not empty; it's teeming with various threats, including both regular zombies and the highly dangerous, sound-sensitive Lickers. It's advisable to check your ammo reserves and have a few bottles of acid ready for these formidable foes.
- The document, alongside some scrap, can be found inside an open container situated in the middle row on the right side of the room.
After acquiring the code, you'll need to backtrack to the Lobby and then re-access the Monitor Control Room to finally open the safe. This detour presents a strategic dilemma: do you risk valuable health and ammunition fighting through the Bioweapon Repository 05 for the sake of immersion, or do you use this guide to bypass the danger and save your resources for more critical encounters? The choice, of course, is yours, but knowing the dangers beforehand allows for better preparation.
The Spoils of Victory: What Awaits Inside the Safe
After successfully inputting the correct code and hearing that satisfying click, the RE9 Monitor Control Room Safe yields a collection of highly practical items, particularly valuable in the later stages of Resident Evil Requiem. The rewards are consistent across all difficulty settings:
- One Bottle of Acid: A potent offensive item, crucial for dealing with specific enemy types or clearing pathways. Acid is often a limited resource, making this find incredibly helpful.
- One Empty Bottle: Far from being junk, empty bottles are vital for crafting. They can be combined with other components to create various useful items, including more acid or other chemical weapons, depending on your crafting recipes.
- One Med Injector: A critical healing item, the Med Injector provides a substantial health boost, often capable of pulling you back from the brink of death. In an endgame scenario where health is constantly at risk, this item is a true lifesaver.
The combination of an offensive resource, a crafting component, and a powerful healing item makes the Monitor Control Room safe a truly worthwhile endeavor. These items empower you to better tackle the final challenges of the ARK facility and enhance your overall survival chances. To delve deeper into the exact items and their strategic importance, check out our guide on how to Unlock RE9's Final Safe: Monitor Control Room Codes & Rewards.
Strategic Tips for Approaching the RE9 Monitor Control Room Safe
Navigating the ARK facility and its dangers requires careful planning. Here are some strategic insights to maximize your success when dealing with the RE9 Monitor Control Room Safe:
- Resource Prioritization: If you choose to find the code in-game, mentally prepare for the Lickers in Bioweapon Repository 05. Consider whether it's worth the ammo and health expenditure, or if saving those resources by using this guide is a better tactical decision, especially on Insanity mode.
- Map Awareness: The Monitor Control Room is connected to the Lobby. Use your map frequently to identify safe paths and minimize unnecessary encounters, particularly when backtracking after finding the code.
- Crafting Foresight: The empty bottle from the safe is a prime opportunity to craft another vital item. Consider what you'll need most for upcoming boss fights or dense enemy areas and save other components accordingly.
- Know Your Dial: Always remember the Resident Evil safe mechanic: complete all turns accurately before attempting to pull the handle. Impatience will only lead to frustration and reset the combination.
By keeping these tips in mind, you can approach the Monitor Control Room safe not just as a puzzle, but as a strategic element within your larger survival plan for Resident Evil Requiem.
Conclusion
The RE9 Monitor Control Room Safe stands as a testament to Resident Evil Requiem's layered gameplay, offering both a challenging search for those who desire it and a straightforward solution for players focused on efficiency. Whether you meticulously hunt for the in-game document amidst the Lickers of Bioweapon Repository 05 or utilize the direct codes provided in this guide, securing its contents is a significant step towards conquering the ARK facility. The acid, empty bottle, and med injector you acquire are more than mere pickups; they are crucial components for survival in RE9's harrowing endgame. Equip yourself with this knowledge, open that safe, and face the final horrors of Resident Evil Requiem with confidence!